

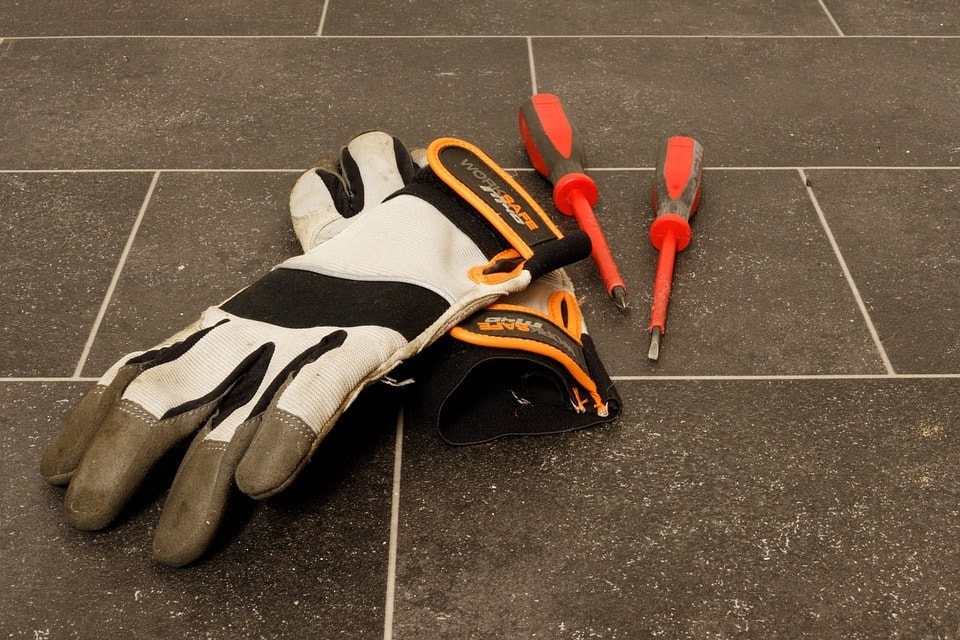
How To Fix Plastic On Front House Door
Without a frame, your door will never be level to the ground or even get the support it needs to function efficiently. Think well-nigh the frame as your door's spinal string, a structure that holds everything in place.
Now that you lot know just how important the frame is, permit'southward talk well-nigh the steps to follow to supervene upon one.

Why Supersede a Door Frame?
Before we continue, here are some reasons why you'd demand to supervene upon a door frame. This is important considering the type of damage usually dictates what steps are to be followed.
They include:
- Minor frame damage
- Rotten wood
- Split frame
- A warped door frame
We'll begin with the easiest process, which is fixing minor frame impairment, and work our mode upwards from there.
Minor Frame Harm
1. Assess the damage
Small frame harm can be caused by a multitude of reasons. To appraise the impairment, you'll take to give the whole area pocket-sized taps to bank check if any woods is pulling away because if there is, the damage is extensive and should probably no longer be classified as 'small.'
Just if at that place isn't, it can be fixed in a matter of minutes.
2. Fill up whatsoever dents and gouges
We often apply fillers to fix upward gouges, dents, gaps, holes, and fifty-fifty nicks. Grab some wood filler and utilise your putty knife to gently fill them all up.
3. Requite information technology 12 hours to dry out
Do not apply primer or pigment right away. Requite it a couple of hours to dry out up (preferably 12) before applying a single glaze of primer, and two for the paint. If you don't let information technology dry upwardly first, the whole surface area will still be susceptible to more damage.

Rotten Frame Wood
Here'south something that a lot of yous probably aren't aware of—there are shut to 5 million fungi in the air around usa. And when those fungi and wet come into contact with wood, it starts to decay, making it less dense and besides weak to support any door.
To avoid this, make sure all your frames are always dry. But if the damage is already done, this is what you can practise:
1. Area identification
We've been in this game long enough to know the decaying process always starts at the very lesser of the door. And you lot should know this because that's the office that'southward more exposed to moisture, especially during cleaning. Using your pencil and measuring tape, observe out how extensive the harm is, and mark it.
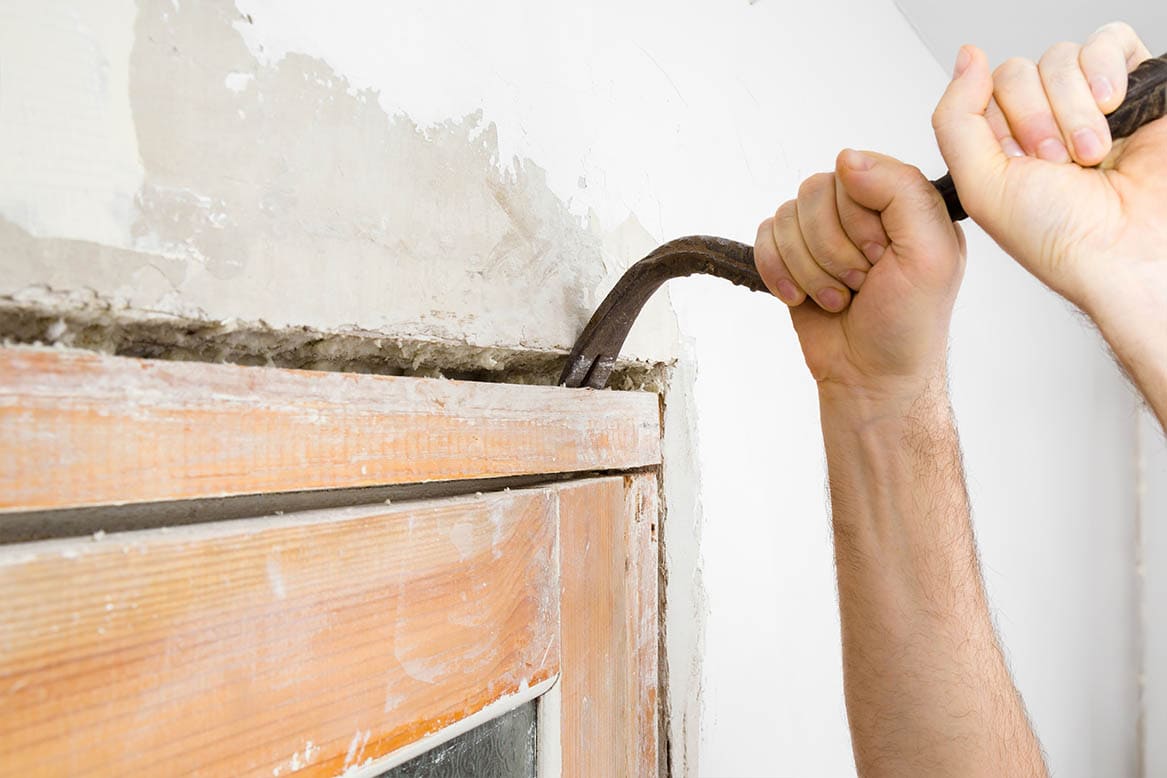
2. Chisel it off
We have to remove that whole area, or it will spread and ruin the entire frame. So, start cutting information technology off from the marked point. Make sure yous remove every terminal fleck of it, every bit anything left can jumpstart the disuse process again and take you lot back to foursquare 1 in a couple of weeks.
3. Wire mesh and filling the gaps
In one case you lot're done cutting, there will naturally be a gap left. Nosotros tin can't merely go out information technology like that—fifty-fifty if information technology doesn't affect the operation of the door in any way. Fill up information technology upward with the wire mesh, and secure it using a few screws. You could always use the nails if yous don't have screws, or if you lot retrieve they are ameliorate suited to become the chore done.
The terminal step is to comprehend it upwardly using the forest filler. Once done, requite it xv to 20 minutes to settle in, and so add together more. Primer and paint application will be necessary, but only subsequently 12–24 hours.

Separate Frame
The location of the damage and its severity will depend on how the harm was caused. If it was a burglary, chances are the carve up will occur in the centre section of the frame. This usually happens when the door gets opened or shut with excessive force. But if it's in the lower department of the frame, that's an indication that someone kicked the door inadvertently(or out of frustration).
1. Remove the door strip
We cannot do anything with the door strip and molding still attached to the frame. So, use your chisel together with a hammer to become rid of them. And since we're trying to avoid accidents, we would advise y'all to start at the lesser.
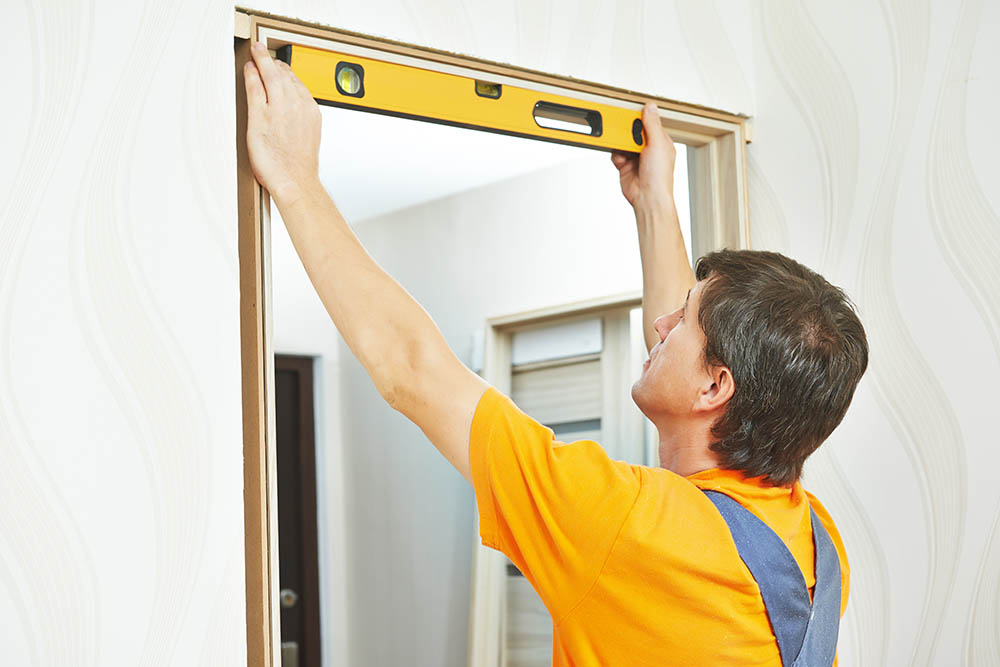
two. Accept measurements
If the damage was caused in the center section, will accept to showtime cutting five–vi inches higher up it, then 5–half dozen inches below. But if it's at a lower section next to the floor, we'll only exist cutting 5–6 inches above. And so, catch your measuring record, and start taking measurements! Remember to pencil marking the points before cutting!
Chiseling won't be efficient in this case. Use a saw.
Side Notation:
The integrity of the remaining frame should remain intact. If you doubtable the saw'south movement will compromise it in any fashion, drill in some screws at the very top and bottom of the surface area you're planning to cut off. Also, try non to cut besides deep.
three. Fill the area with new timber
The piece of timber that you'll be using to fill up that cut section should be the aforementioned type as the frame of the door. If you're non sure, run to the nearest hardware store, and ask for help from the bellboy. Nosotros're certain they'll be happy to help.
Glue the wood in and so secure it using nails. Because nosotros don't want that section to look conspicuous, we'll have to ask you to sand it, then apply wood filler at the signal where it comes into contact with the main frame.
The final step is applying a single coat of primer, two coats of paint, and yous're done!
Warped Frame
The frame got warped because information technology previously had moisture in it, and so stale up unevenly. And you should know past at present that this is zippo new. The dried-upward section will shrink faster than all the other parts, hence causing the frame to bend.
1. Remove the molding and the door end
We don't care what method you employ to remove the molding, but we care about the doorstop. Fifty-fifty though we're asking you to yank both of them out, y'all take to be careful with the end. If yous don't protect information technology, it will be damaged and you lot won't exist able to use it again.
Use the claws of your hammer to support the nails if you have to. Just don't damage it in whatever style.
two. Get rid of those shims
Their main purpose is to level the door to the frame. Just because we're working on the frame, nosotros have to go them out as well. So get them out, reshape the frame using your hammer or mallet, and then reinstall the shims.
If you wish to avert problems in the hereafter, you should install plastic shims. They are known to be rot-resistant and more durable. Likewise, try to place them closer to the hinges—the point where all of the door's weight gets transferred to the frame.
iii. Reinstall the molding and stop
Once you're done with the shims, reinstall the door stop and the molding. Y'all'll obviously have to resize the molding if you replaced your shims with new ones. Just make certain information technology's level with the frame.

Conclusion
Nosotros don't know if yous had fun going through these steps, only we sure did! And nosotros would like to practice this over again with you anytime! Fixing a wooden frame is a skill, but a skill that tin be learned in a matter of minutes, and hopefully, we've helped you larn that new skill!
- See Besides:How To Frame A Door In 10 Elementary Steps
Featured Image Credit: Andrii Anna photographers, Shutterstock
Contents
- 1 Why Replace a Door Frame?
- 2 Small Frame Damage
- 2.i i. Assess the impairment
- 2.2 2. Fill any dents and gouges
- 2.three 3. Give it 12 hours to dry
- iii Rotten Frame Wood
- 3.ane 1. Expanse identification
- 3.2 ii. Chisel it off
- 3.3 three. Wire mesh and filling the gaps
- iv Carve up Frame
- 4.1 1. Remove the door strip
- 4.2 2. Take measurements
- 4.3 three. Fill up the area with new timber
- v Warped Frame
- 5.1 1. Remove the molding and the door terminate
- 5.2 2. Get rid of those shims
- 5.iii iii. Reinstall the molding and cease
- 6 Conclusion

How To Fix Plastic On Front House Door,
Source: https://housegrail.com/how-to-fix-door-frame/
Posted by: crofootithoust.blogspot.com
0 Response to "How To Fix Plastic On Front House Door"
Post a Comment